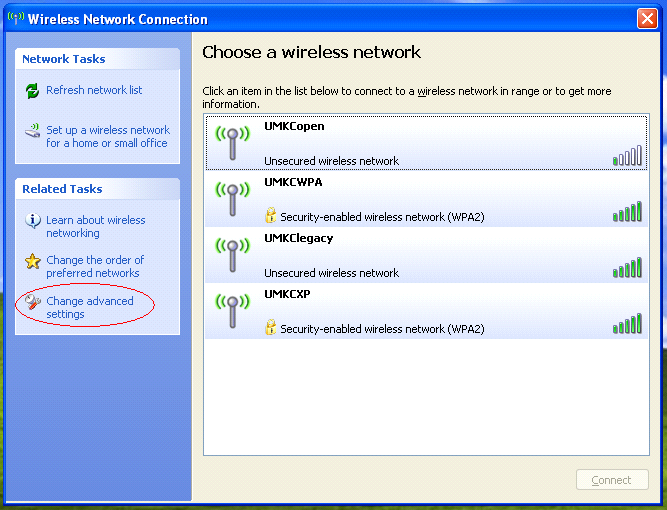
From the Wireless Dialog box you have already opened, click on the link titled 'Change advanced settings' as shown in the picture below.
You should now have a dialog box similar to the following:
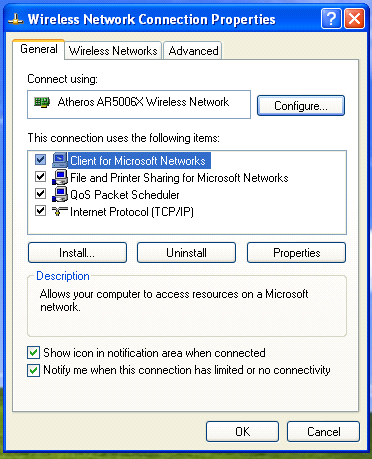
Click on the 'Wireless Networks' tab of the dialog box, which will get a screen similar to the following:
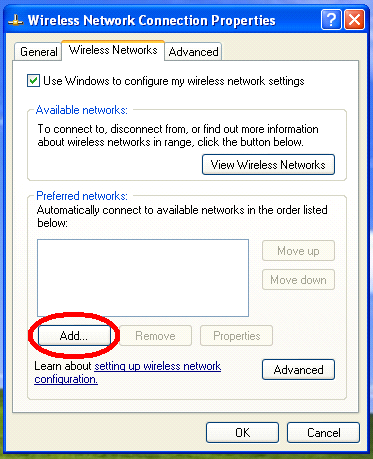
Click on the 'Add' button as circled above, and you will get a window similar to the following:
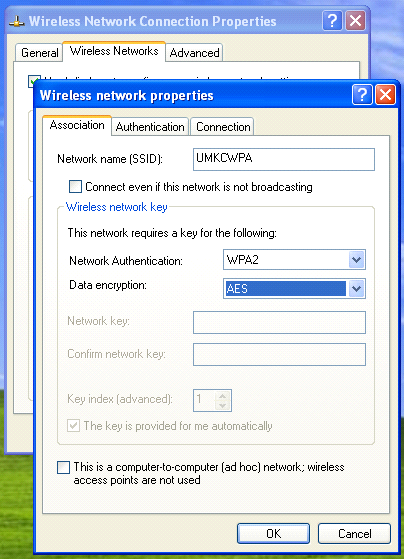
As shown above, on the 'Network name (SSID)' line, enter 'UMKCWPA', on the 'Network Authentication' line select 'WPA2', on the 'Data encryption' line select 'AES'. If you are not able to select 'WPA2' or 'WPA' please go back to the previous web page and select the second set of Windows XP Wireless instructions.
Click on the 'Authentication' tab, and you will get a page similar to the following:
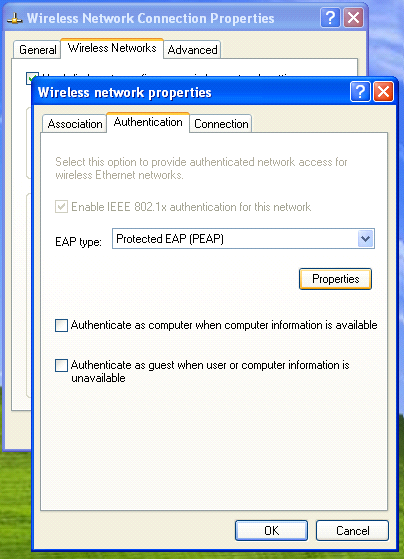
As shown above, set the line 'EAP type' to 'Protected EAP (PEAP)'.
Click on the 'Properties' button, and you will get a page similar to the following:
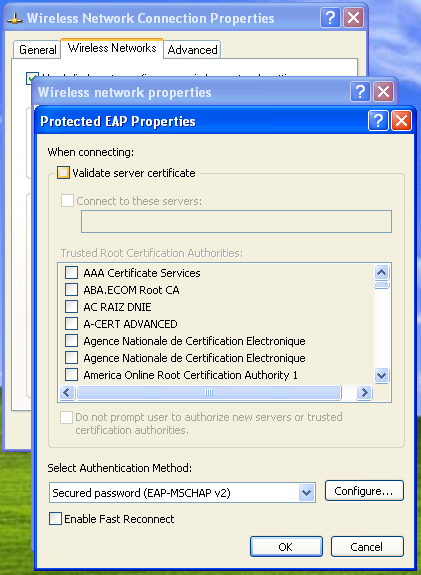
As shown above, un-check the option for 'Validate server certificate', and set the 'Select Authentication Method' line to 'Secured password (EAP-MSCHAP v2). Optionally check the option for 'Enable Fast Reconnect'.
Click on the 'Configure' button, and you will get a screen similar to the following:

As shown above, un-check the option to automatically logon. This option must be turned off, or the wrong username will be sent to the campus network.
Click 'OK' on each of the 4 open windows. Once you have closed all 4 windows, you should have the wireless window as shown below:
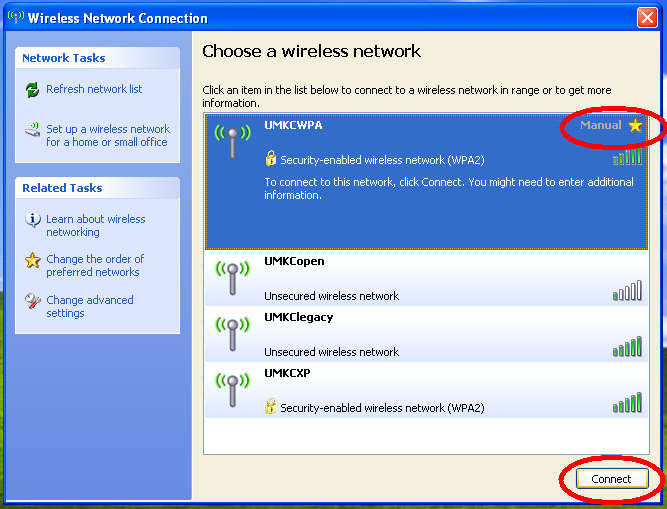
Click on the line for 'UMKCWPA' and click 'Connect' as shown above. You will then get a window similar to the following:
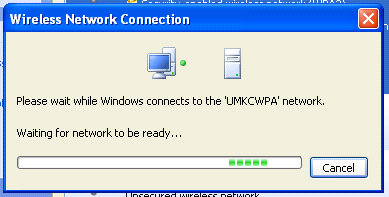
While the above window is on the screen, in the lower-right-hand corner of your computer screen, you will get a pop-up similar to the following:
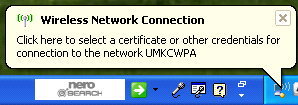
Click on this pop-up, so that you can logon to the network. You will then get a window similar to the following:
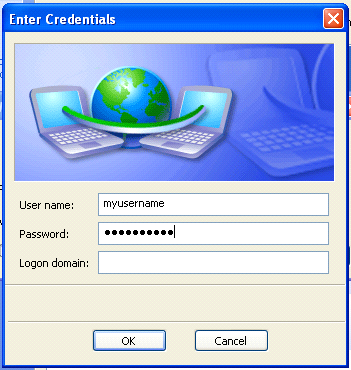
Enter your UMKC username and password as prompted, and click OK. Your wireless network list should now show UMKCWPA with 'Connected' as shown below:
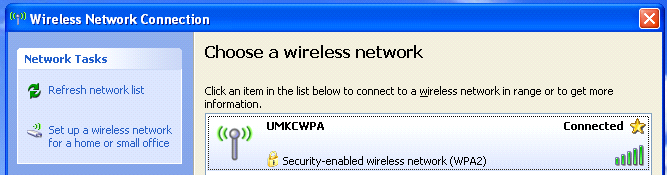
Your computer should now automatically connect to UMKC wireless on each future visit.
If you change your UMKC password, you will need to enter your new password by clicking on the 'Click here to select a certificate or other credentials for connection to the network UMKCWPA' pop-up as shown 3 images above, and you can then enter your new password on the box that will look like the box shown 2 images above.